Team Runs With Scissors
When I’m not caught up with family and work, I love diving into random, pretty weird projects with my wife and kids – either just for fun or as part of group challenges like GISH. After doing GISH for a few years, we picked the name “Team Runs With Scissors” to capture both the chaos and that whole “maybe we shouldn’t be doing this but we’re gonna anyway” vibe. There is some balance to the work:
- The Artist handles all the hands-on creative stuff – fiber work, sewing, paper crafting, shaping and sculpting, styling everything to look just right, picking colors that work together, and definitely choosing the perfect typography
- The Technologist tackles anything that needs to move, light up, or make noise – basically all the electronics, wiring, programming, motors, sensors, and getting the tech side to actually work without catching fire.
Some of our favorite projects are below.
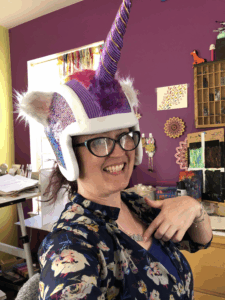
Tracey

Keith
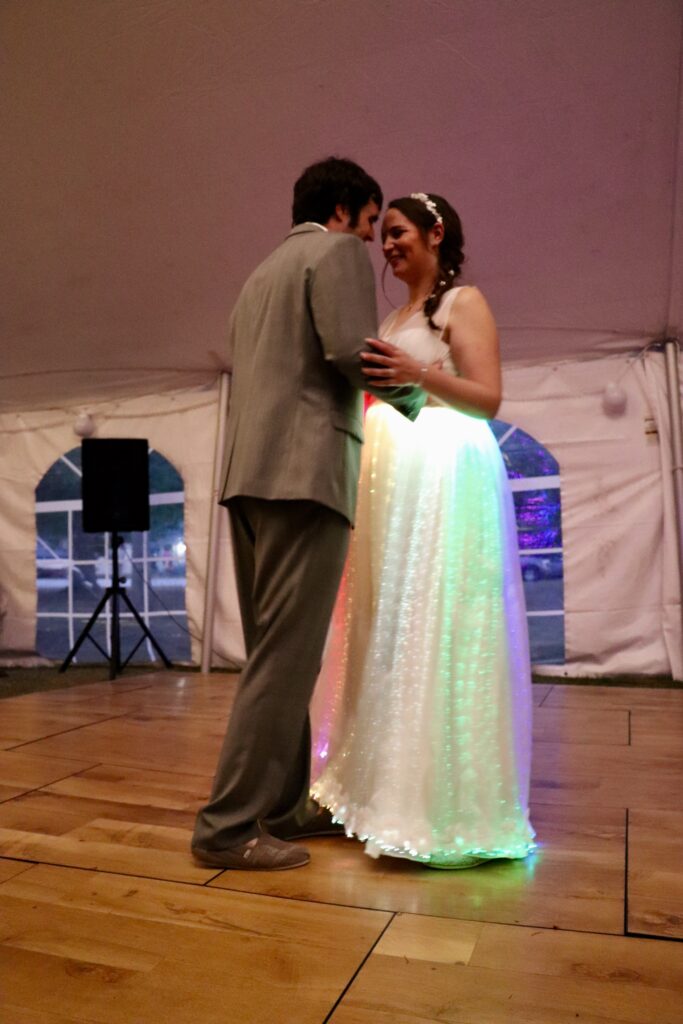
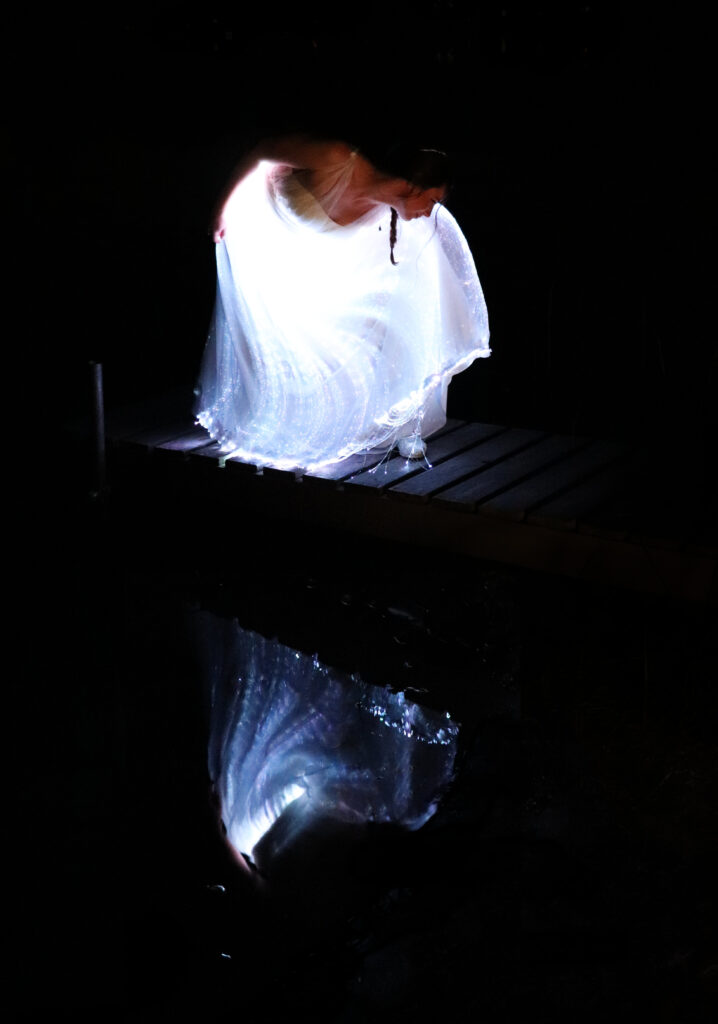
Magic Dress
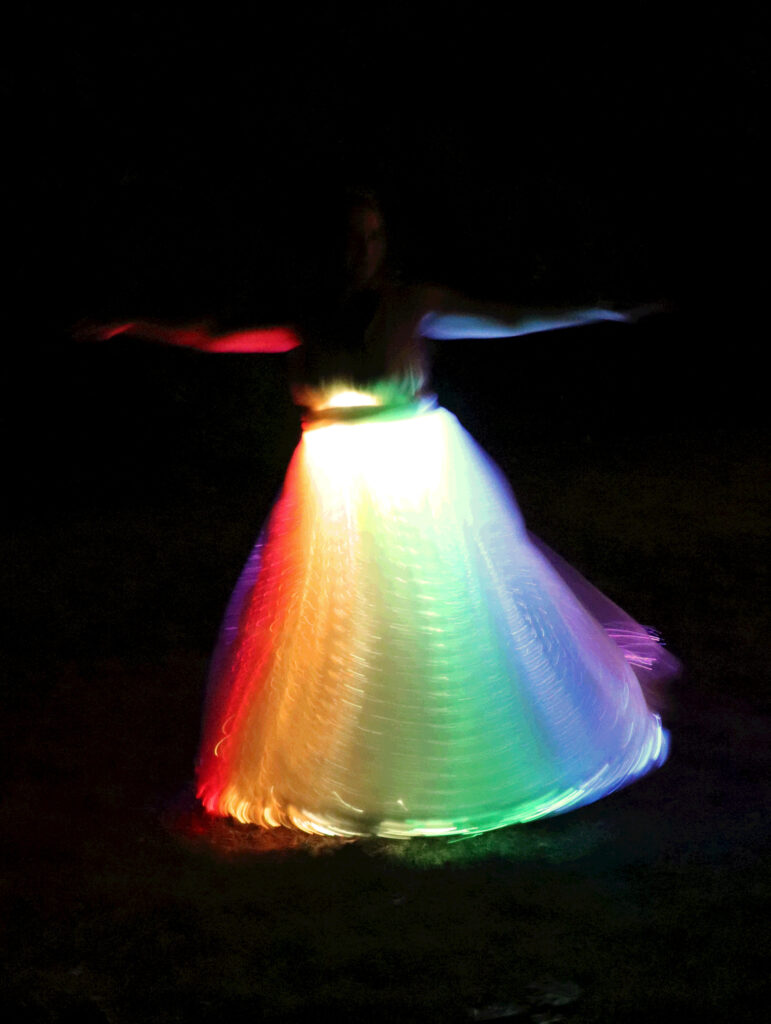
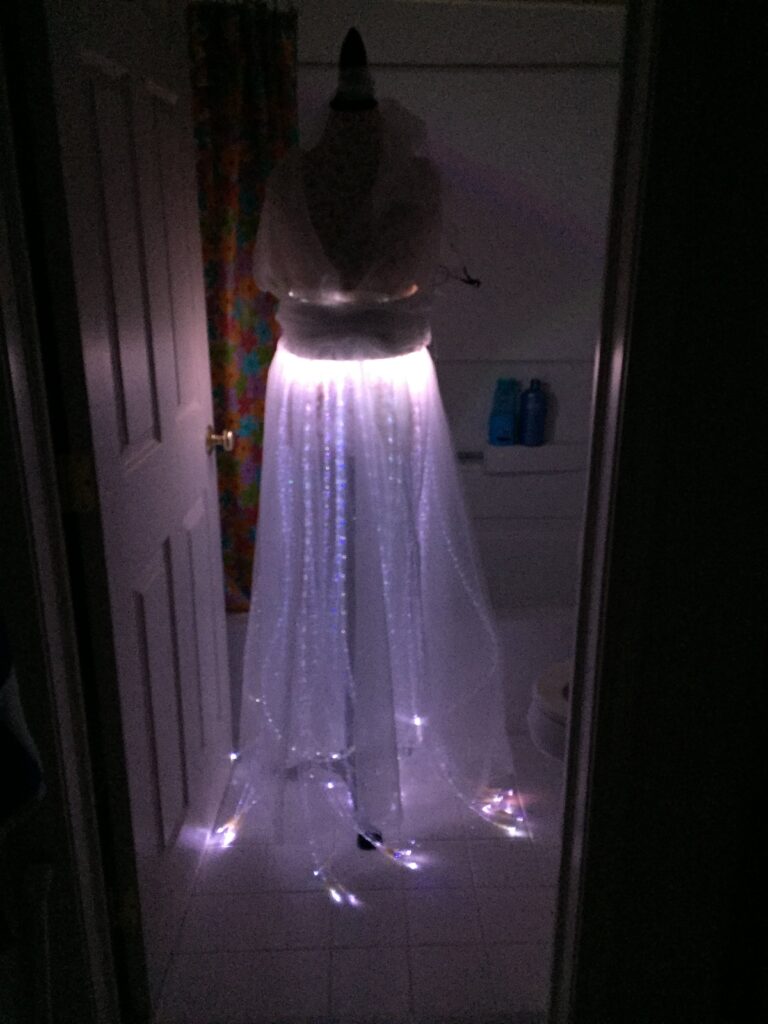
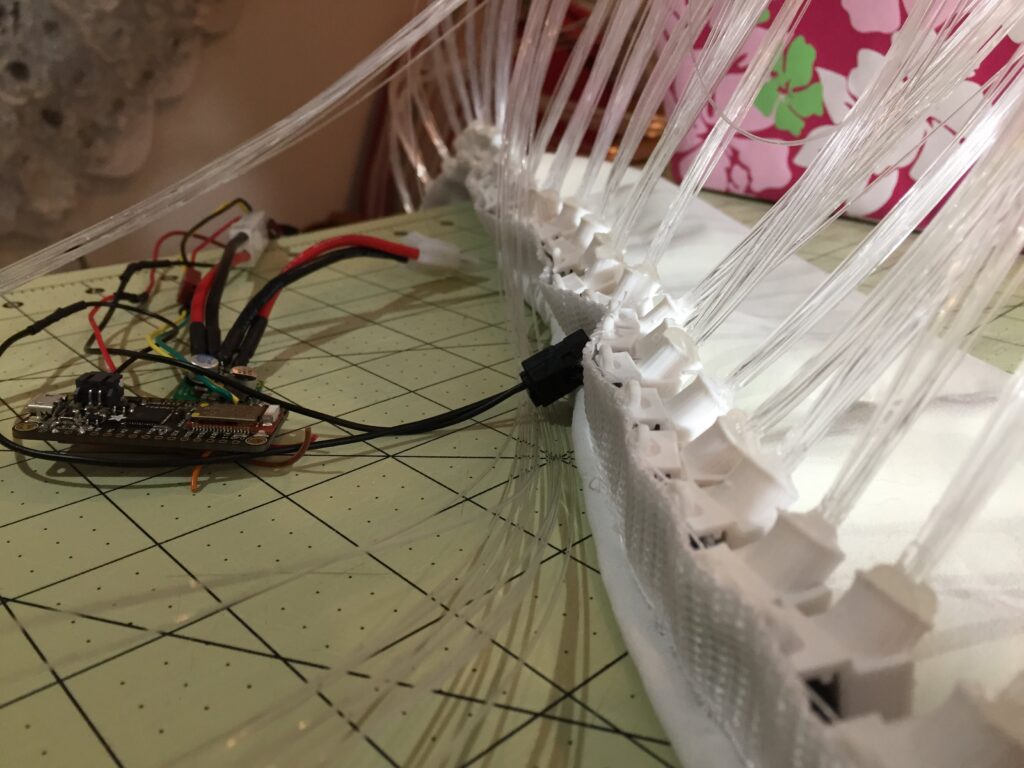
This project was created for our cousin’s Harry Potter themed wedding. We built a hand crafted dress overlay that utilized 28 LED lights to illuminate over 350 separate strands of chipped fiber to create solid and animated patterns. The dress components were battery powered and could fit a hidden pouch making it light enough as well as obscure enough wear. The lighting display was controlled by a Android phone connected via Bluetooth.
Dress Components
- Adafruit Feather Bluetooth LE
- Dotstar Digital Color LED Strip 60/m
- 5V Step Down Voltage Regulator
- 7.2V NiMH Tamiya & connectors
- 1400′ sparkle strand fiber (we only used about half)
- 28 fiber + LED pots custom 3D printed
- Additional connectors
Software
- Android App – custom built with Android Studio, BLE libraries, custom screens & serial protocol
- Dress Controller – custom built using Arduino IDE, Adafruit Dotstar libs, Adafruit BLE libs
- Patterns – All White, White Slide, White Slide Fast, Rainbow Slide, Rainbow Slide Fast, Maize & Blue Slide, Blinking White, Lightning, Dark (battery saver…)
Challenges
The biggest challenge was that the fiber optics came in a sheathed bundle of 1400′ long. We had to cut 28 segments, strip the sheathing by hand and cement bundles of strands into each of the 28 receptacles.
Other Opportunities
- We originally wanted to create a custom wand that you could flick to change colors, but we ran out of time before the event
- Lighting that would bounce “to the beat” – required putting a microphone on the dress that wouldn’t be covered.
Rainbow Tachanka's Magic Visor
Magic Visor – bench demo
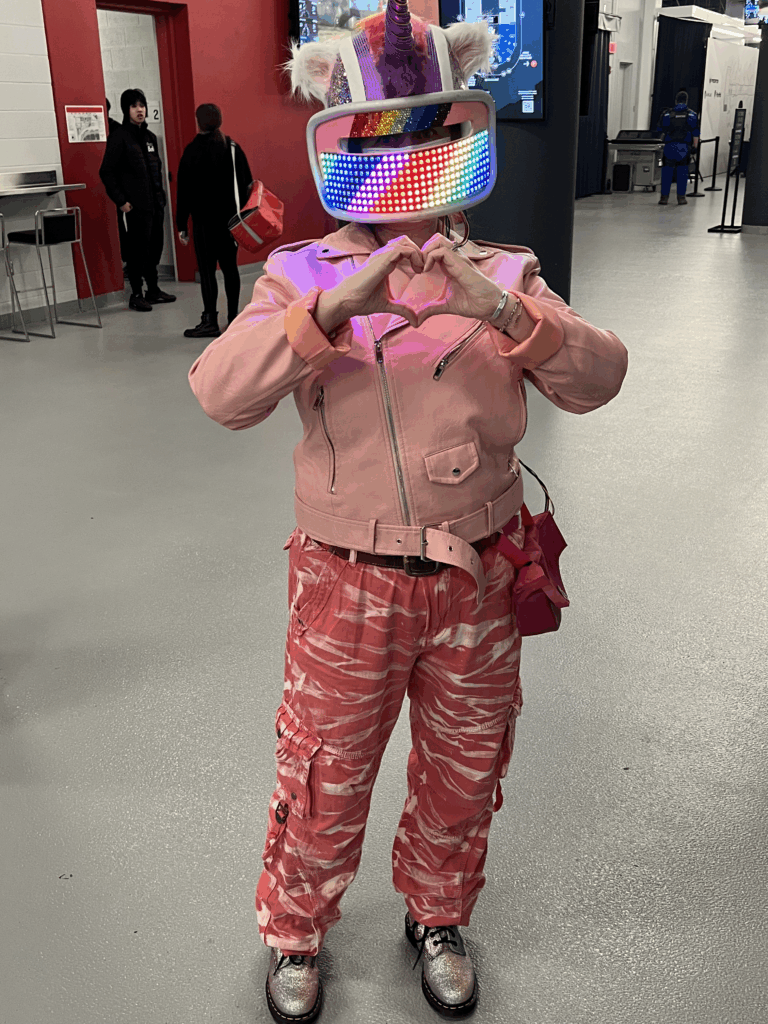
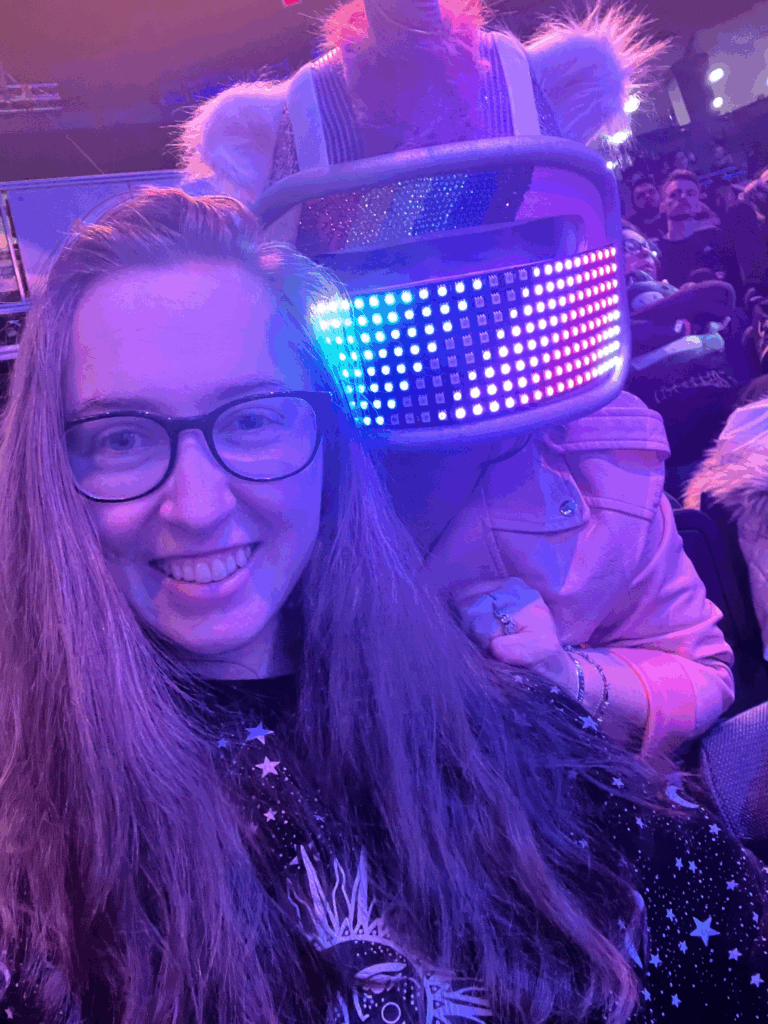
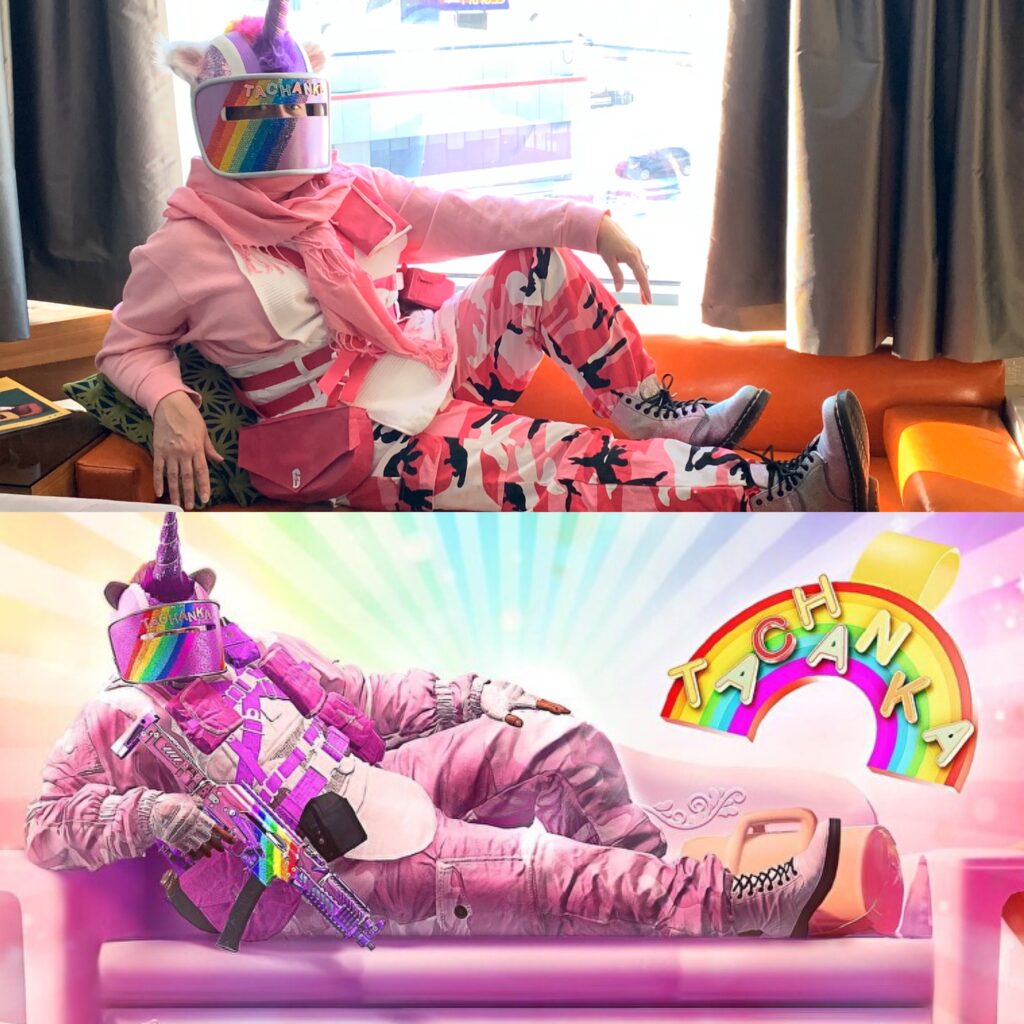
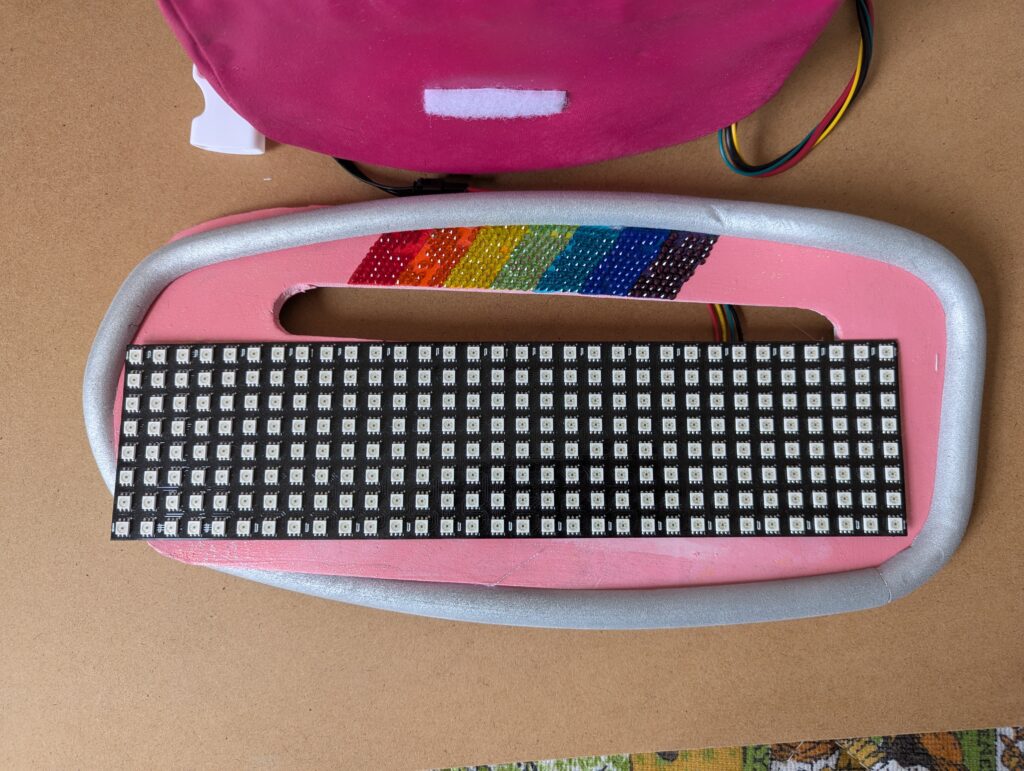
This project was created for a cosplay event for the Rainbow Six Siege 2023 Championships. Tracey designed a helmet after the original Rainbow Tachanka event, which she wore at the 2020 R6 Championships. When we had the chance to go back we knew we had to step it up a level so I designed a wearable controllable visor. We based off what we learned from the magic dress, and needless to say it was a hit at the event!
Visor Components
- Adafruit Feather Bluetooth LE
- Neopixel 32×8 flexible LED matrix
- 5V Step Down Voltage Regulator (7.2V → 5V)
- 7.2V NiMH Tamiya & connectors
- Power Toggle switch
- Additional connectors and connector wire
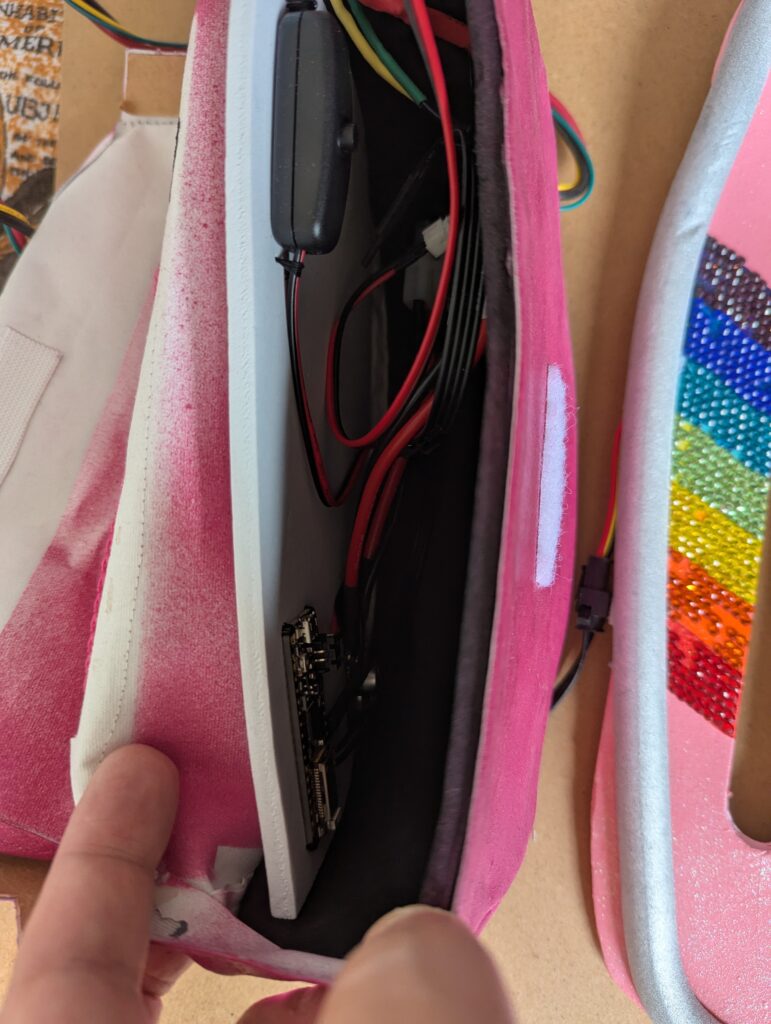
- Custom wearable pouch for components
Software
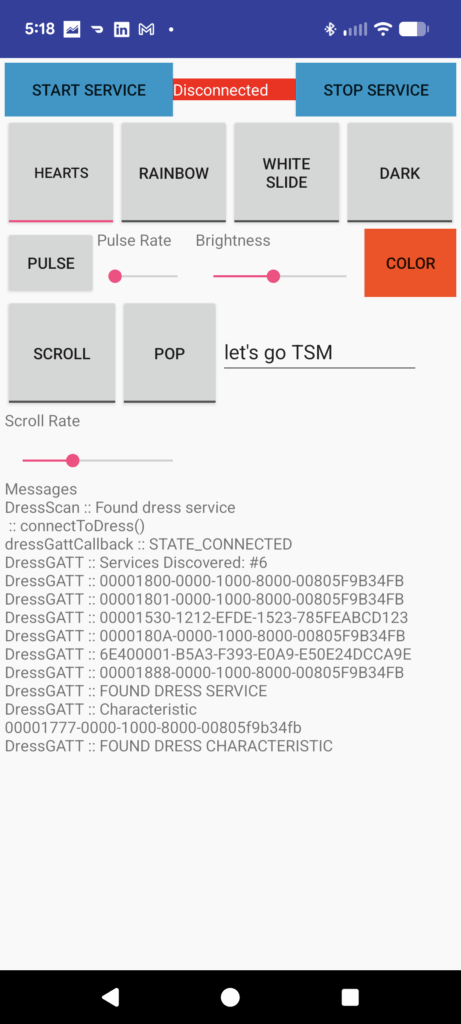
- Android App – custom built with Android Studio, BLE libraries, custom screens & serial protocol
- Visor Controller – custom built using Arduino IDE, Adafruit Neopixel libs, Adafruit BLE libs
- Modes – Scrolling Hearts, Scrolling Rainbow, Custom scrolling text, Custom pop text (will display each word for a few seconds and cycle). With text can choose color and for scrolling you can choose speed.
Challenges
The design & build wasn’t too complicated. However, it took a few minutes each time we got setup to run the cabling down the outfit so that it was comfortable and not visible, then connect to the pouch. This was made even more difficult given that at the event we had to have it inspected before we walked in to make sure it was “safe”.
Other Opportunities
- Wanted to create a “pattern designer” where you could design a pattern on the phone – with a scrolling option – that gives you ability to create custom designs on the fly.
- There are newer grids now that are denser, would like to upgrade at some point to give more options for text and maybe even logos.
Robo Kart
Robo Kart test drive
Robo Kart Pimped for Halloween
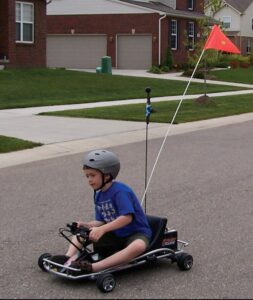
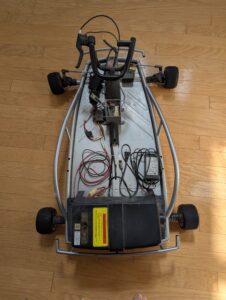
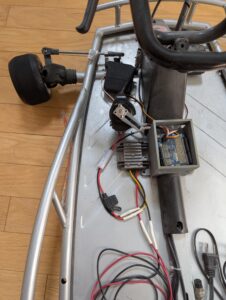
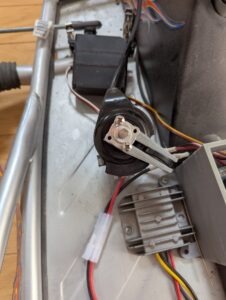
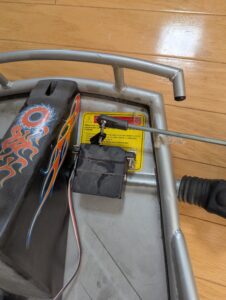
Our kids eventually grew too big to use their Razor Go-Kart and since it was it was just lying around… I decided to see if I could Remote Control it! I originally built it out to connect by Bluetooth, but realized quickly that range and connectivity wasn’t great so I swapped out the Arduino board for a Wi-Fi Direct compatible board. The control was done via an Android app that you tilted left/right like a steering wheel with a thumb throttle control. All components (kart, servos, controller) were powered by the main go kart battery with the micro devices connected through a 5V buck converter as the high torque servers needed more amps that the 500ma provided by smaller batteries. Because I didn’t want to replicate a speed controller, I designed a custom adapter to pull the existing thumb lever for speed. We revamped for Gish Halloween event, won that category and were added to the Hall of Fame!
Go Kart Components
- Razor Go Kart
- Arduino Uno Wi-FI
- Arduino Uno Servo Shield
- 12V→ 5V Buck converter with heatsink
- 2 high torque servers
- Push rods & ball joints to connect servos and front wheels
- Custom 3D printed components for housing controllers, etc.
Software
- Android App – custom built with Android Studio, WiFi direct libraries, custom screens & wireless serial protocol. Tilt to steer, thumb control slider for speed
- Kart Controller – custom built using Arduino IDE, Arduino WiFi libs
Challenges
The Arduino sometimes suffered resets during driving that caused it go out of control likely due to sudden power. drops from the buck converter when the servos hit full load. (We hit a neighbors garage door… shhh…) This likely was could have been solved by putting a bulk capacitor on the Arduino to smooth out the power gaps.
Other Opportunities
- The steering controls were sensitive because they were linear and slightly delayed due to how the WiFi library processes data (~100ms delay). This made driving an “experience” and would like to improve it as some point.
- I would have liked to connect the entire steering control to a larger drive motor instead of driving the wheels independently – this would have looked better as the wheel would have moved. However the cost for this was more than I wanted to spend.
- Ask Tracey about “danger cannon”…
Wedding Cake Rocket
The One & Only Voyage
For GISH one of the challenges was to get a wedding cake to fly – the bigger the cake and the further the distance, the more the points. We didn’t have much space to launch and retrieve the rocket, so we went smaller scale. I originally tried just a single rocket engine but the thrust wasn’t going to be enough, so had to design parallel engine mounts. (If you look closely at the video you’ll see that the blast pad is bent and scorched as a result of the first failed flight.)
Cake Components
- Layered wedding cake (10″, 8″) fully frosted
- 2 Estes C6-5 rocket engines
- Custom stiff cardboard mounting frame
- Estes launch pad, launcher, igniters
- Fake bride & groom in background for effect
Challenges
Mounting the rocket engines such that the cake would not just “fly apart” took some extra engineering to make sure that we had a mid-plate backing that was solid enough to hold the force and keep the cake together.
Other Opportunities
As you can tell by the video, it didn’t fly straight. We could have added large fins to guide it better… but we were in a rush.
Mr Crowley - Voice Activated Toilet Flusher
One Bad Joke, One Flushed Toilet
For GISH one of the challenges was to create… well, a voice activated toilet flusher. In the Supernatural series the character “Crowley” is the bad guy, so I guess it’s appropriate to associate him to toilets flushing. We built this by leveraging the Google Speech to Text library running on an Android phone. When it heard the word “Crowley” it sent a signal to the Arduino which cycled the servo for the flushing action.
Components
- Arduino Uno
- 1 High Torque servo
- USB cable
- Android App built with Android Studio
- Google Speech-to-Text Libraries
- Picture of Mr Crowley
- 1 bad joke & 2 willing participants
Challenges
The speech-to-text engine was still pretty early so it had a hard time recognizing the word “crowley”. In the video I tried to enunciate clearly while watching the STT output to make sure it was picking it… took a few tries. Plus I couldn’t remember the joke so I had to write it on paper and post it on the wall! 😂
Other Opportunities
None… this was just plain fun.
Rotary Mobile Phone Dialer
Old School Meets New Age
For GISH yet another challenge was to go “old school” with our devices and use a rotary phone to make a phone call on a cell phone. Yes… sounds weird… but it was interesting. An Arduino is connected to the rotary phone’s audio lines. as the dial returns once user user reaches their number it counts the clicks indicating the digit being dialed. It sends these digits one-by-one to the mobile phone via Bluetooh. I created a custom Android app that presents as a phone dialer, but it receives signals over Bluetooth from an Arduino. The app will launch the phone dialer once it receives the necessary 9 digits to make the call. The rest of the app is just window dressing.
Components
- Arduino Uno Bluetooth
- Rotary phone
- Breadboard for testing
- 6V battery power
- Android App built with Android Studio
Challenges
Recognizing the clicks required a little bit of thought because you needed to “hear” the gaps between dialing as well – as the phone is dialed forwarded, there are clicks but they are too close together to be numbers.
Other Opportunities
There was actually space inside the bottom of the phone to place all the components, but when in a rush we didn’t get a chance to do that.
Coming Soon
- Rebuilt Wolfie
- Link to robokart controller
